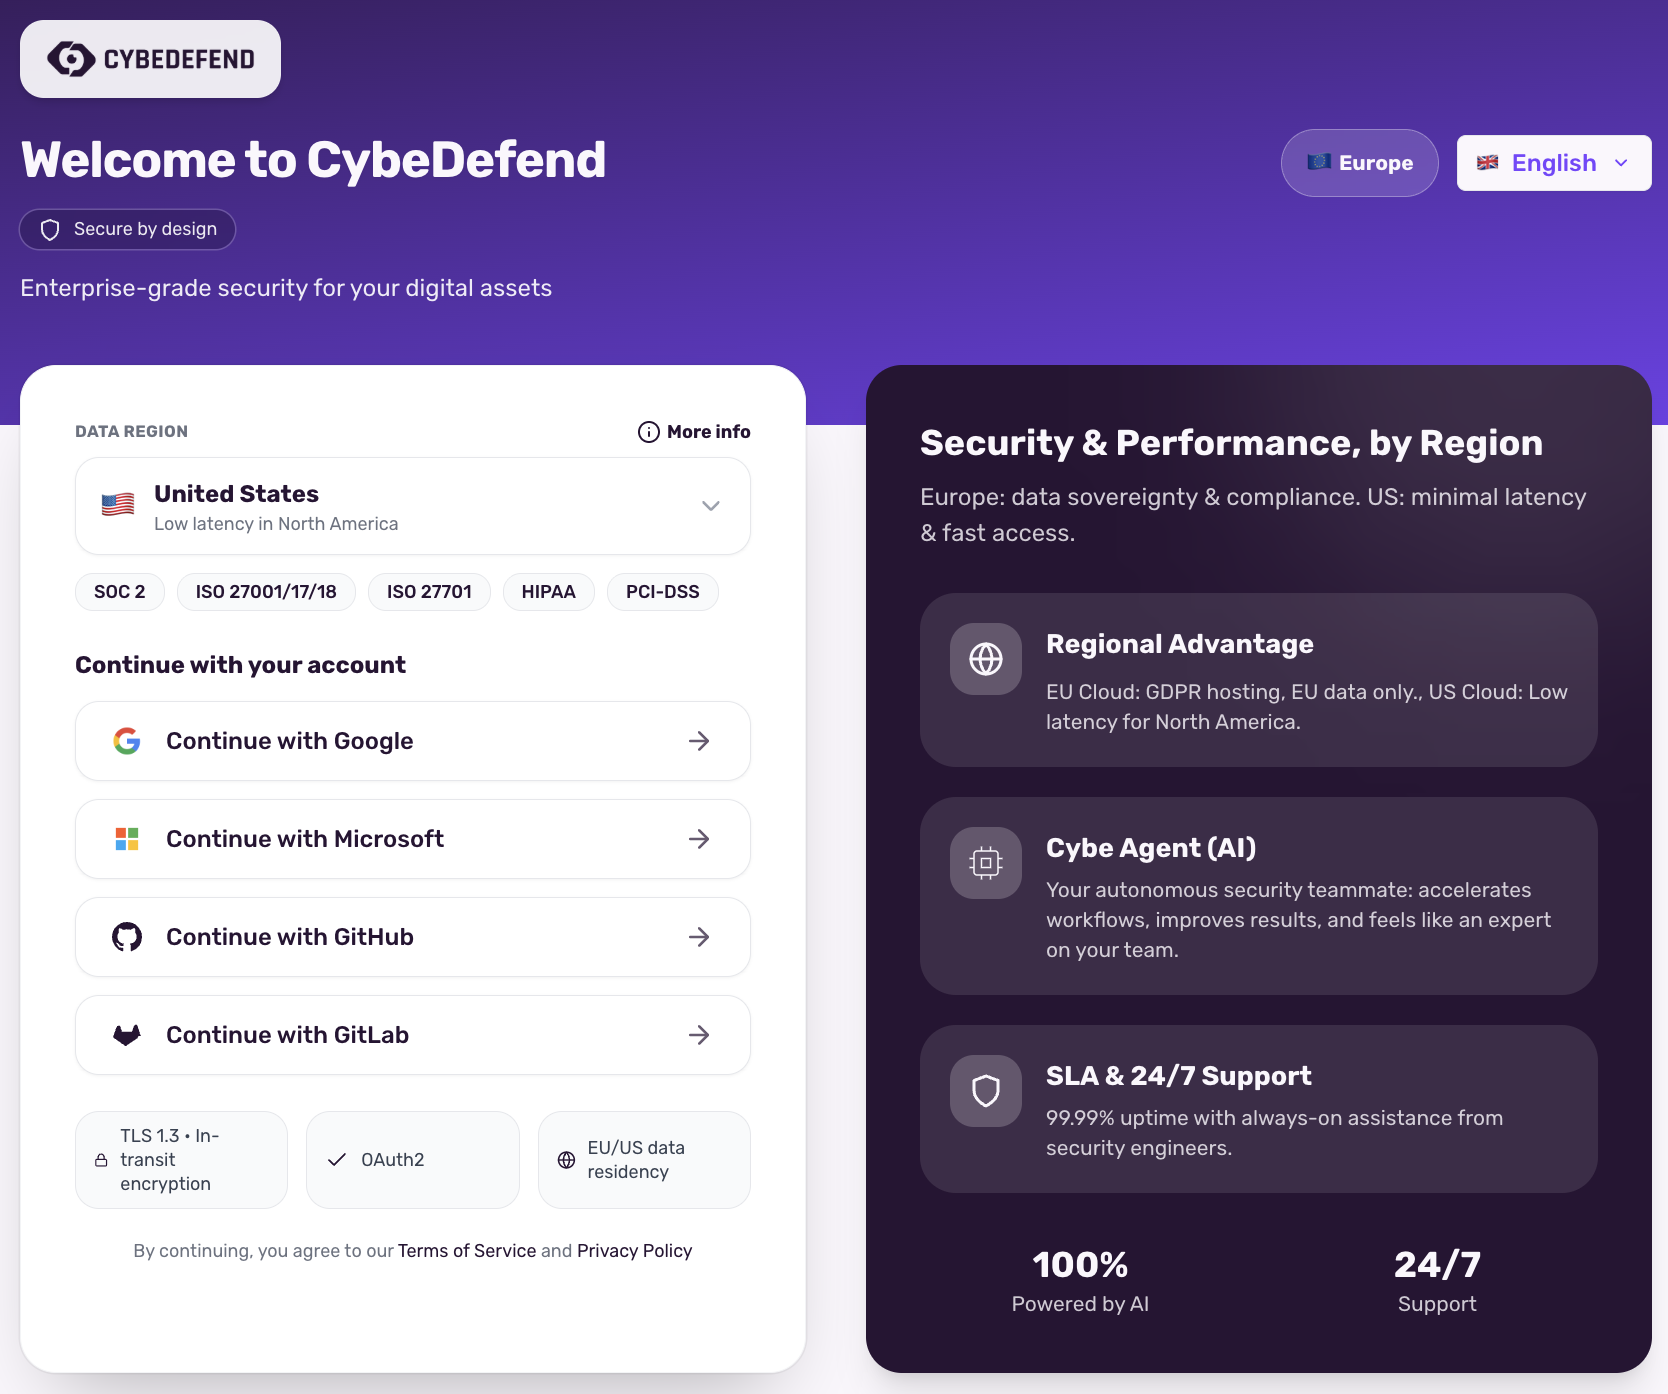
1. Create an Account via OAuth2
-
Go to the CybeDefend Registration Page
Choose the sign-up option of your choice (Google, Microsoft, GitHub, GitLab). -
Select Your Cloud Region
CybeDefend offers two sovereign cloud options to meet your compliance and performance needs:- Europe Cloud
- United States Cloud
Optimized for GDPR compliance and data sovereigntyCertifications & Compliance:
- CISPE
- ANSSI SecNumCloud
- G-Cloud UK
- ACN (Italy)
- ENS (Spain)
- GDPR
- BSI KRITIS
- BSI C5
- ISO 27001/17/18
- ISO 27701
Choose Europe for full GDPR compliance and European data sovereignty requirements.Your region selection binds IAM/Gateway endpoints at runtime. -
Authorize Your Credentials
OAuth2 ensures a secure handshake without requiring you to store new passwords. -
Complete Your Profile
Provide your name and agree to our Terms of Service to finalize your account creation.
2. Create Your Organization
- Access the Form
After your first login, you’ll be prompted to create an Organization. Alternatively, visit Organization Settings → New Organization. - Fill in Details
Provide an organization name, an optional description, and (if needed) a logo. - Save & Continue
This sets up your top-level group where teams and projects will live.
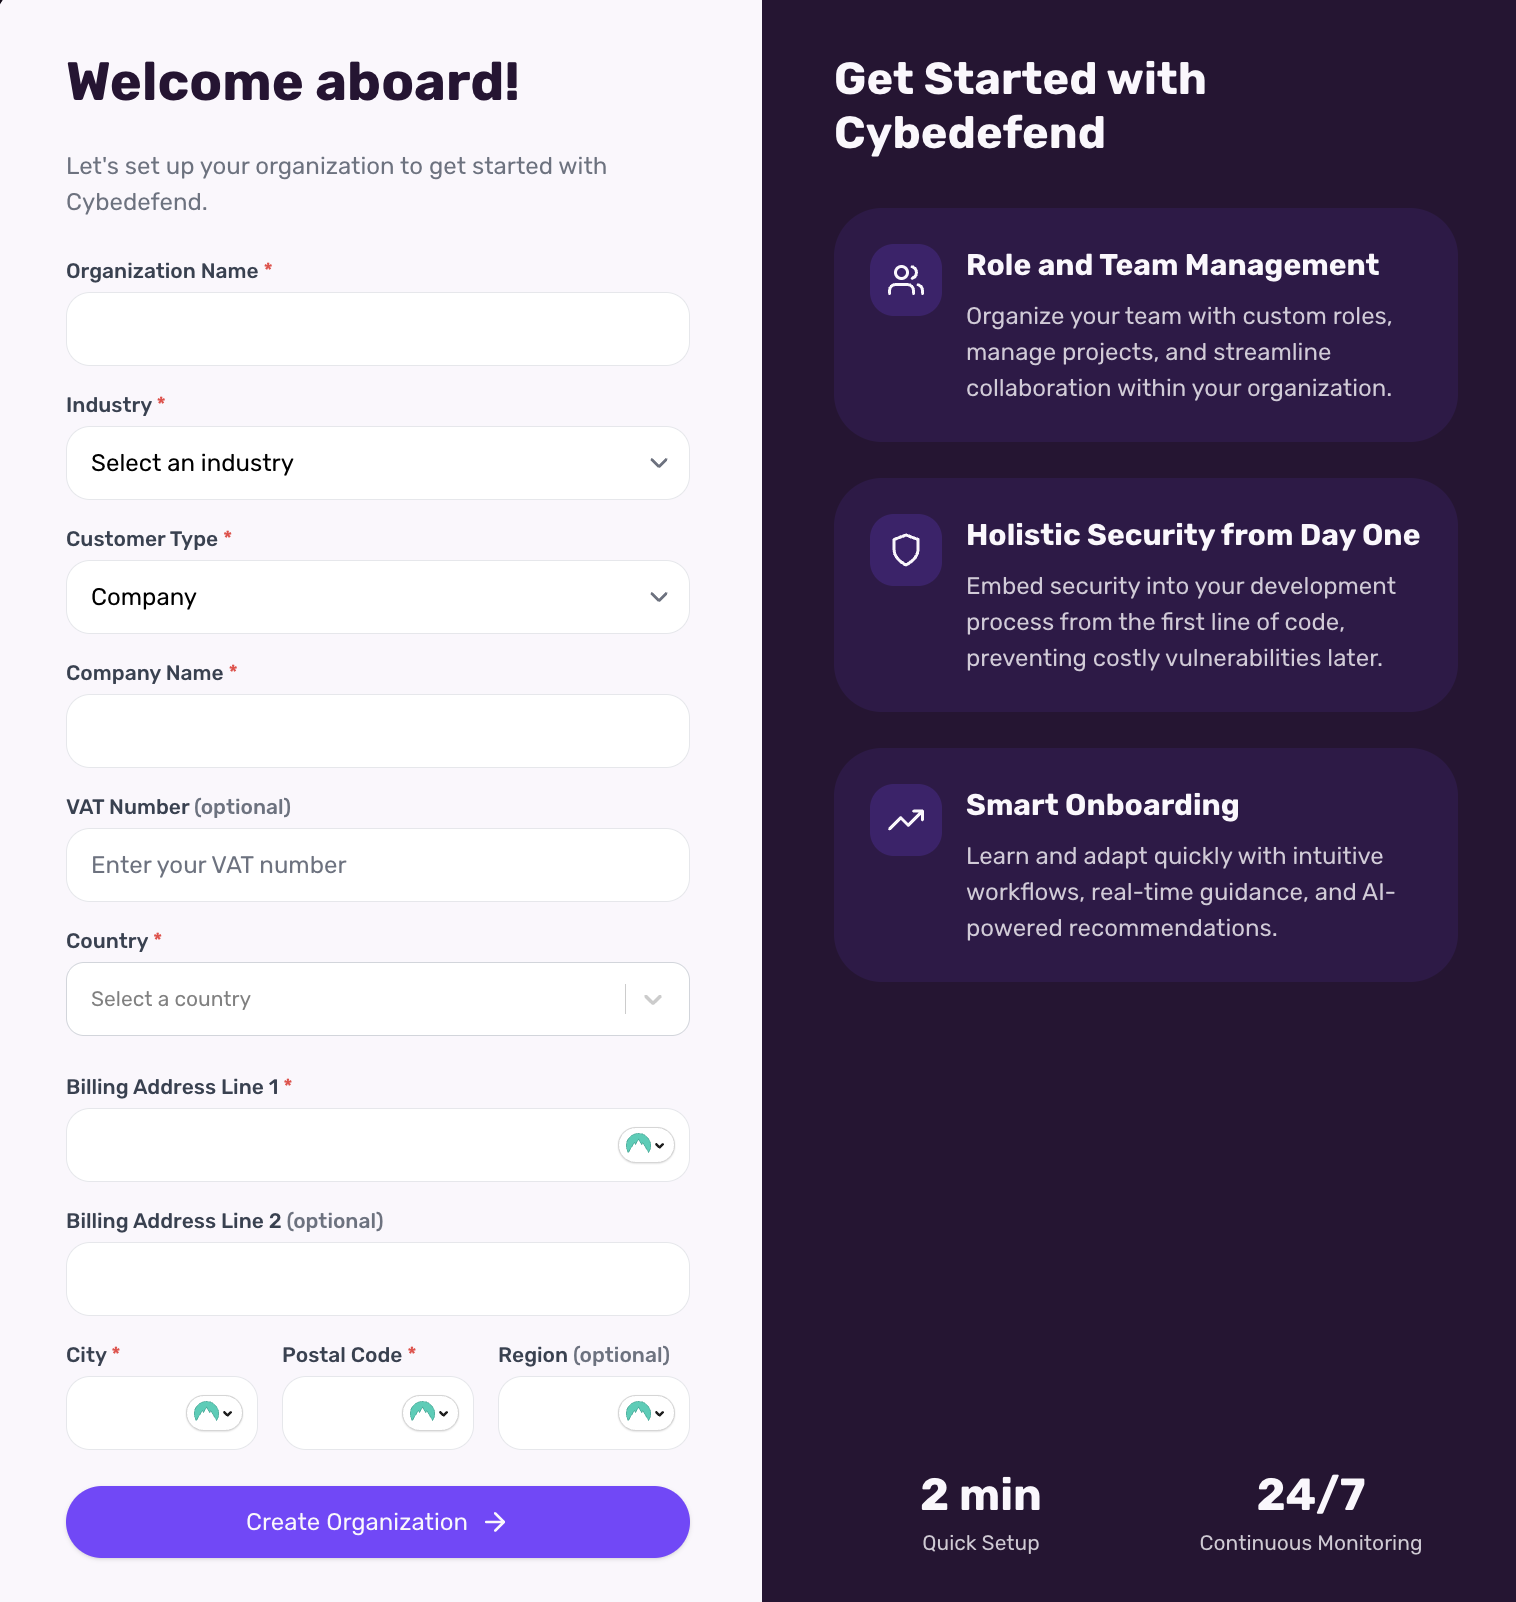
You can create multiple organizations if you manage different companies, clients, or environments.
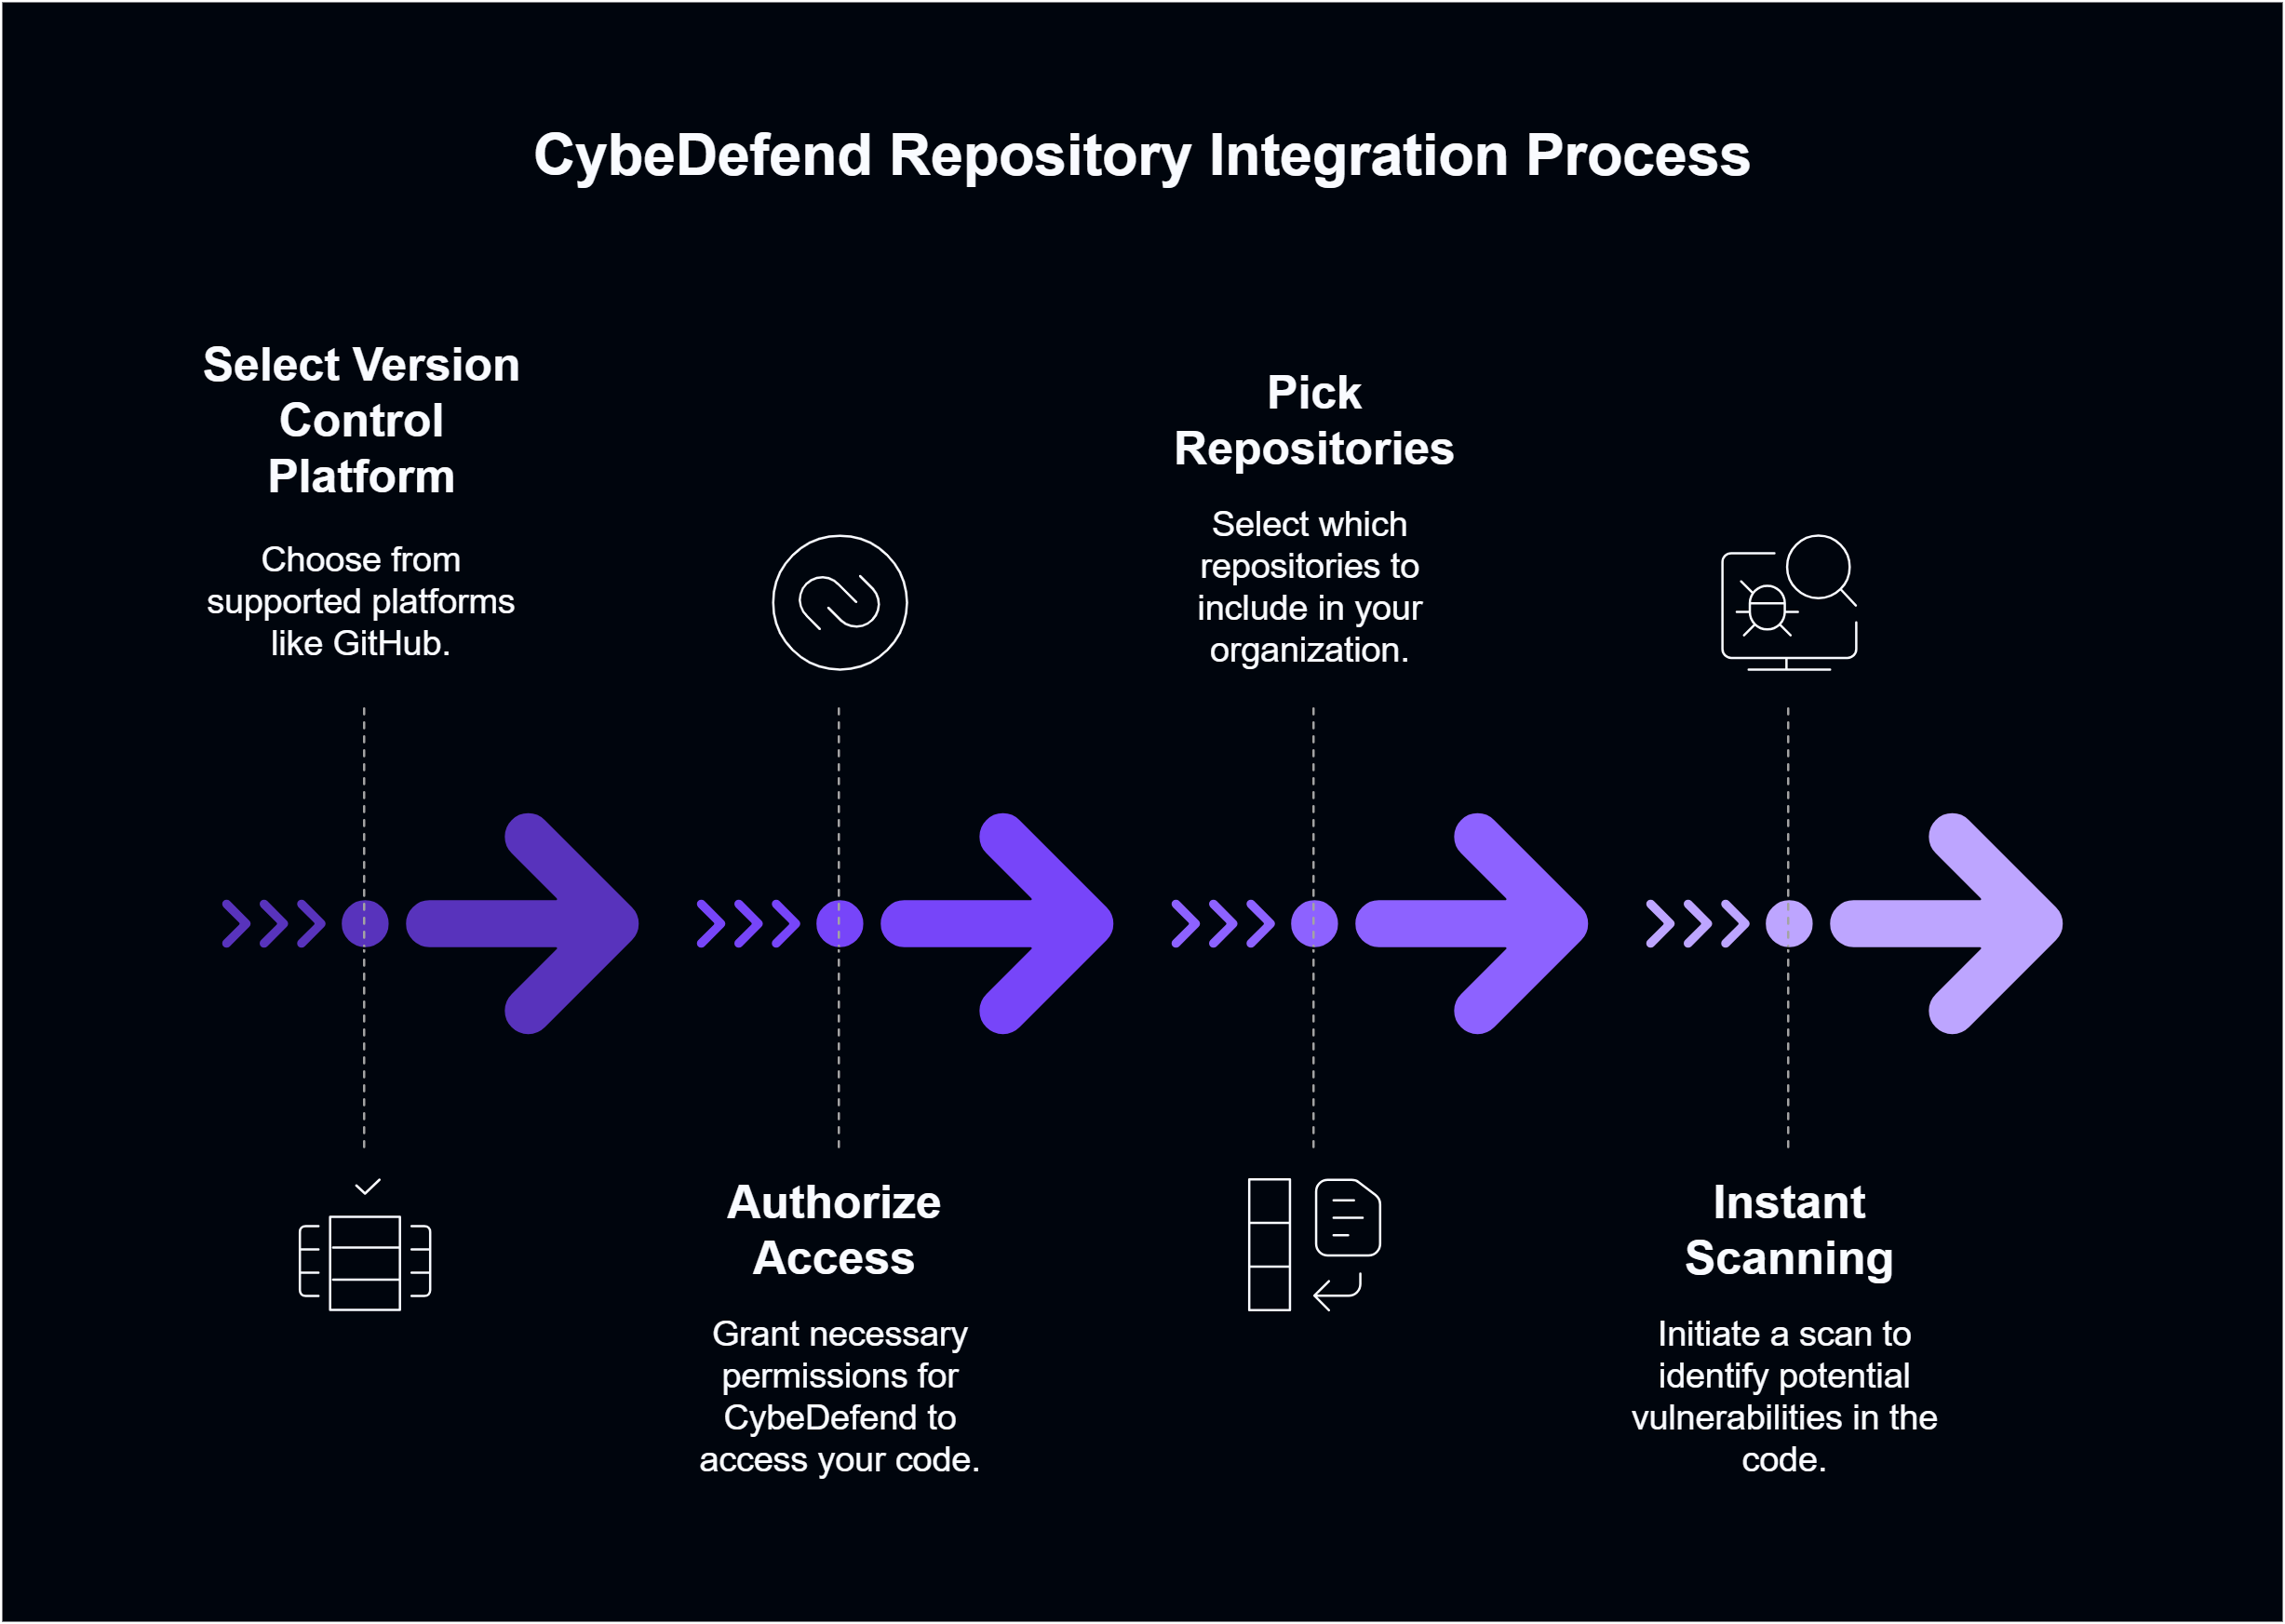
3. Connect Your Repositories
- Select Your Version Control Platform
CybeDefend supports GitHub. Check out our Detailed Integration Guides for each platform. - Authorize Access
Approve read (and optionally write) permissions so we can scan your code. - Pick Your Repositories
Choose which repos to include in your Organization. You can assign them to specific teams or projects later. - Instant Scanning
As soon as you connect a repository, CybeDefend triggers an initial scan, identifying potential vulnerabilities.