> ## Documentation Index
> Fetch the complete documentation index at: https://docs.cybedefend.com/llms.txt
> Use this file to discover all available pages before exploring further.
# Creating Projects
> Learn how to create projects in CybeDefend, whether you're linking GitHub, GitLab, or uploading a ZIP file.
CybeDefend projects are the core of your DevSecOps workflow. They allow you to scan your code for vulnerabilities, track your security posture, and collaborate with your team. This guide will show you how to create projects in CybeDefend using GitHub, GitLab, or ZIP upload.
***
## How to Create Projects
Before creating your first project, decide how you want to add your code to CybeDefend:
1. **Recommended: Link a Git Provider**\
Connect your **GitHub** or **GitLab** account to seamlessly import repositories. See our integration guides:
* [GitHub Integration Setup](/latest/get-started/connect-your-source-code/connect-github)
* [GitLab Integration Setup](/latest/get-started/connect-your-source-code/connect-gitlab)
2. **Alternatively: Upload a ZIP**\
You can upload your code in a zip file for quick or offline testing. We strongly recommend connecting a Git repository for the best DevSecOps experience.
***
## Steps to Create a Project
### 1. Navigate to Create Project
In your organization's home page, click **Create Project**.
### 2. Select Your Method
Choose how you want to add your code:
#### Option A: Connect with GitHub
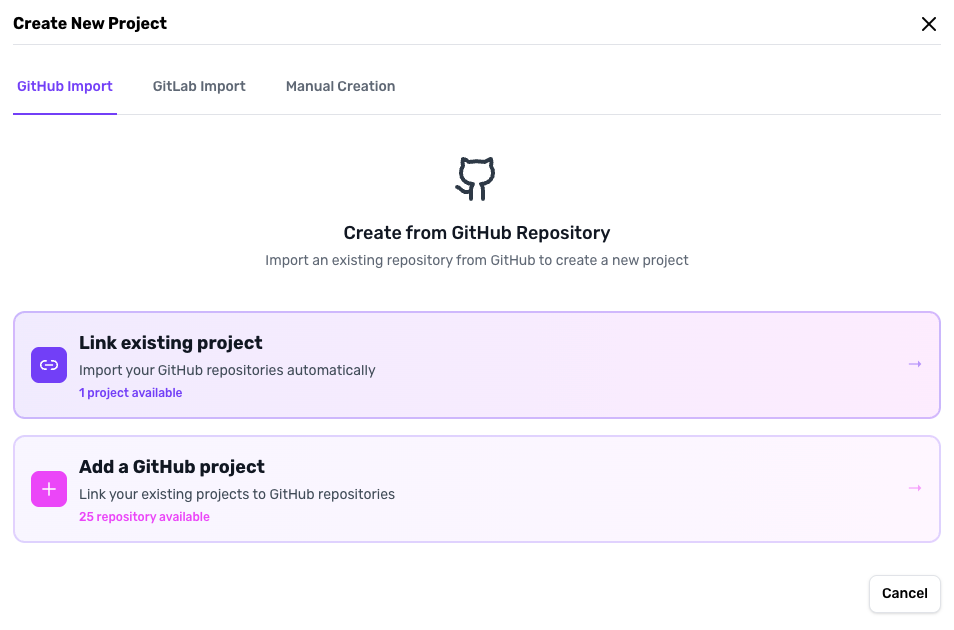 * Click **Continue with GitHub**
* Select your repository from the dropdown
* Assign it to a specific team
* Configure scan parameters
#### Option B: Connect with GitLab
* Click **Continue with GitHub**
* Select your repository from the dropdown
* Assign it to a specific team
* Configure scan parameters
#### Option B: Connect with GitLab
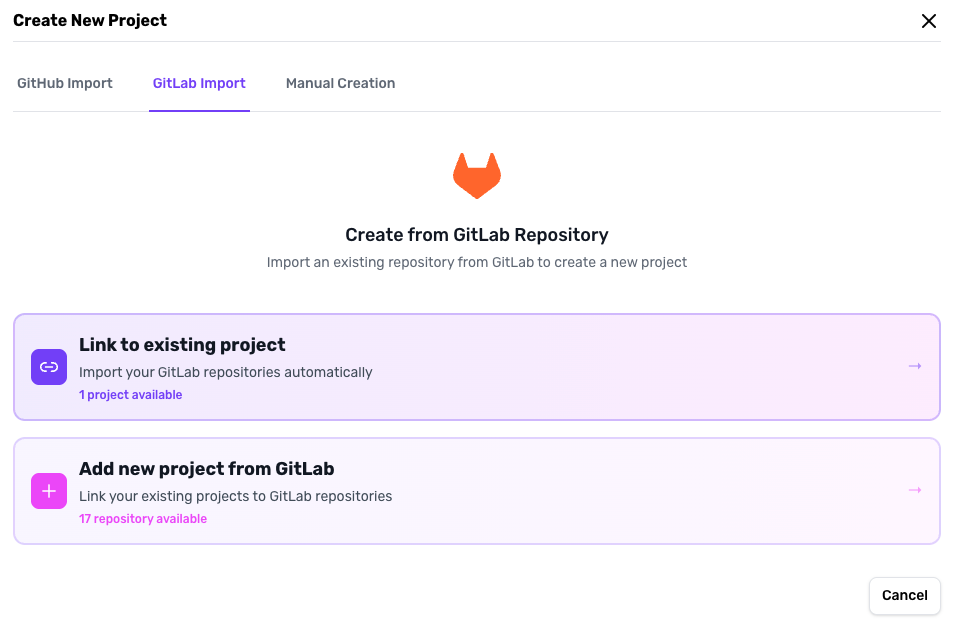 * Click **Continue with GitLab**
* Select your repository from the dropdown
* Assign it to a specific team
* Configure scan parameters
#### Option C: Upload ZIP
* Click **Continue with GitLab**
* Select your repository from the dropdown
* Assign it to a specific team
* Configure scan parameters
#### Option C: Upload ZIP
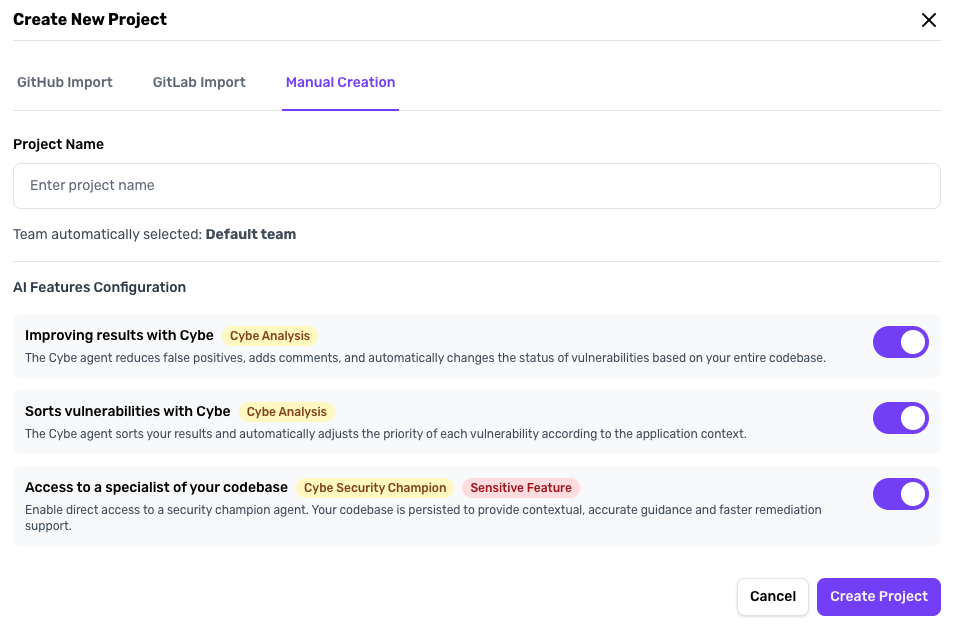 * Click **Upload ZIP**
* Provide your code archive
* Assign to a team
* Configure scan parameters
### 3. Configure Scan Parameters
Adjust scanning settings based on your needs:
* **Severity levels**: Choose which vulnerabilities to detect
* **Scanner types**: SAST, SCA, IaC, Container
* **Advanced options**: Enable Cybe Analysis etc.
See more details in our [Scan Project Parameters](/latest/code-scanning/scanning-options/scan-parameters) guide.
***
## What Happens After Creation?
Once your project is created:
* **Initial Scan Starts**: CybeDefend automatically begins scanning your code
* **Vulnerabilities Detected**: Results appear in your project dashboard
***
**Related:** [Connect GitHub](/latest/get-started/connect-your-source-code/connect-github) · [Connect GitLab](/latest/get-started/connect-your-source-code/connect-gitlab) · [Scan Parameters](/latest/code-scanning/scanning-options/scan-parameters) · [Cybe Analysis](/latest/agent-ai-integration/cybe-analysis-detail)
* Click **Upload ZIP**
* Provide your code archive
* Assign to a team
* Configure scan parameters
### 3. Configure Scan Parameters
Adjust scanning settings based on your needs:
* **Severity levels**: Choose which vulnerabilities to detect
* **Scanner types**: SAST, SCA, IaC, Container
* **Advanced options**: Enable Cybe Analysis etc.
See more details in our [Scan Project Parameters](/latest/code-scanning/scanning-options/scan-parameters) guide.
***
## What Happens After Creation?
Once your project is created:
* **Initial Scan Starts**: CybeDefend automatically begins scanning your code
* **Vulnerabilities Detected**: Results appear in your project dashboard
***
**Related:** [Connect GitHub](/latest/get-started/connect-your-source-code/connect-github) · [Connect GitLab](/latest/get-started/connect-your-source-code/connect-gitlab) · [Scan Parameters](/latest/code-scanning/scanning-options/scan-parameters) · [Cybe Analysis](/latest/agent-ai-integration/cybe-analysis-detail)