> ## Documentation Index
> Fetch the complete documentation index at: https://docs.cybedefend.com/llms.txt
> Use this file to discover all available pages before exploring further.
# Managing Access with Organizations and Teams
> Learn how to structure your organization, create teams, and invite members to manage code and projects effectively.
CybeDefend offers flexible structures to keep your organization and teams organized. Each **Organization** can have multiple **Teams**, and each Team can own projects (the codebase). This helps segment permissions and simplify collaboration.
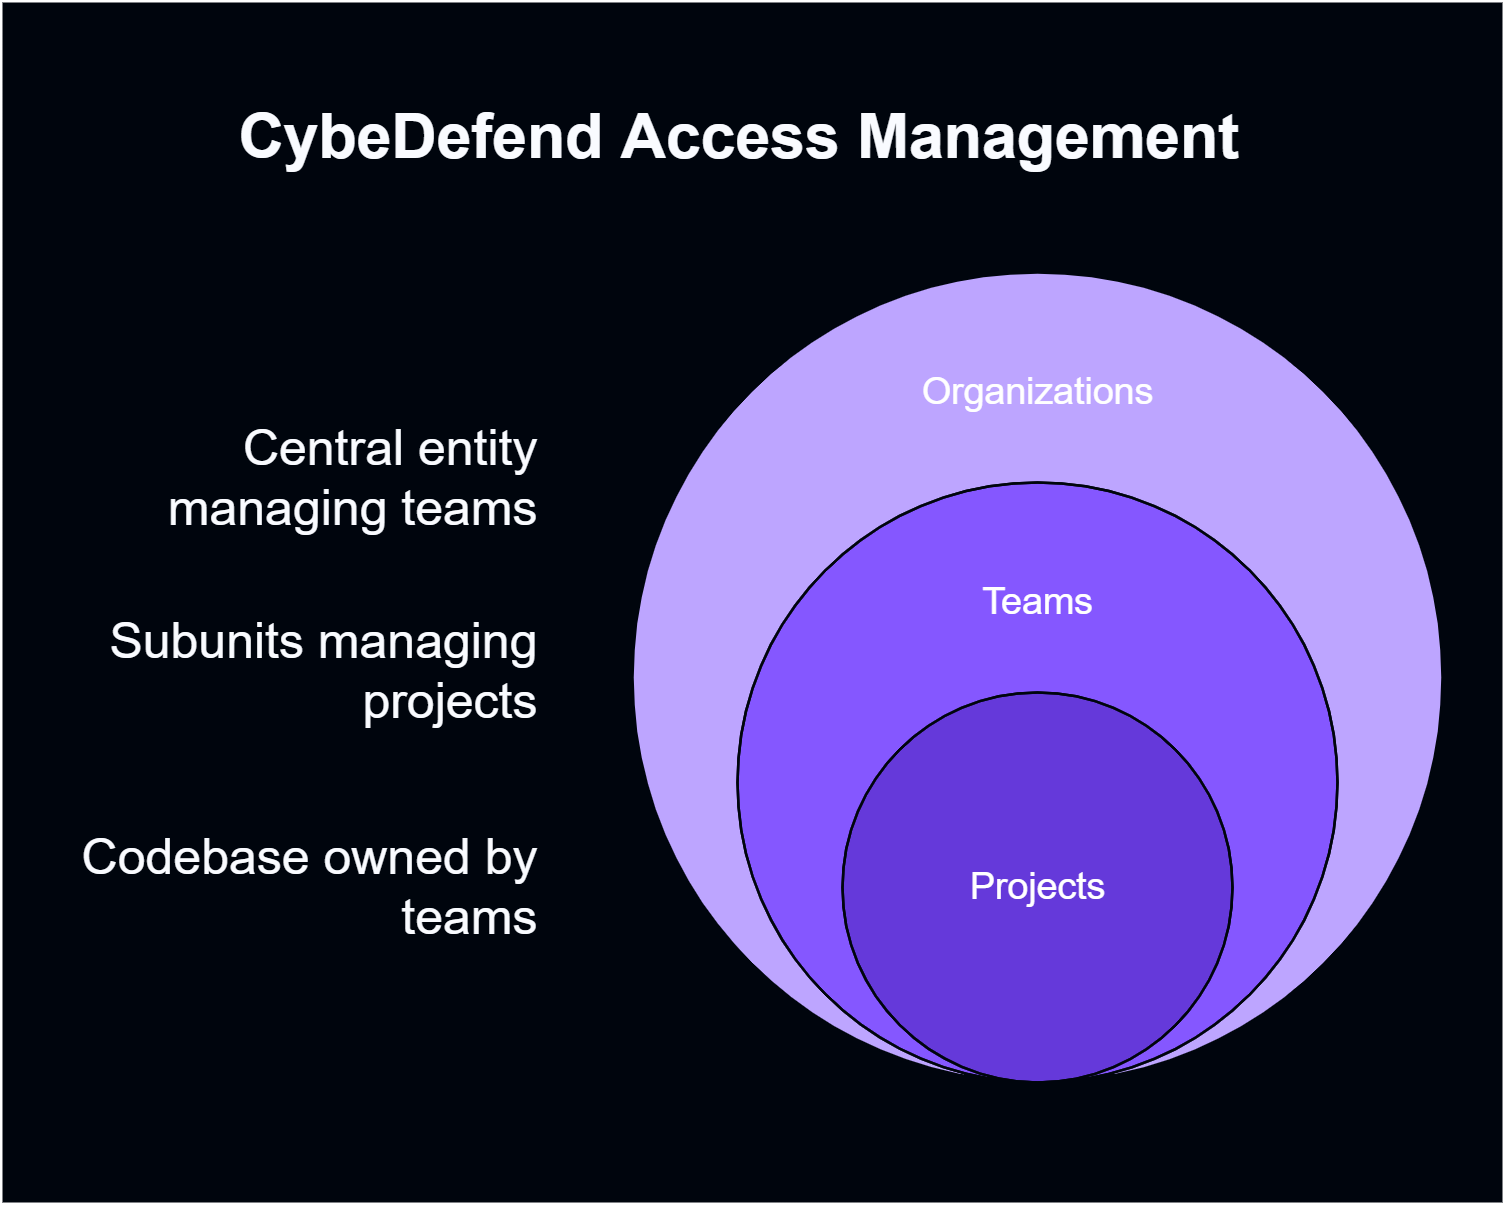 Teams are ideal for grouping people working on the same projects or requiring similar levels of access.
***
## How to Create Teams
1. **Open Organization Settings**\
From the main dashboard, select **Organization Settings**.
2. **Navigate to Teams**\
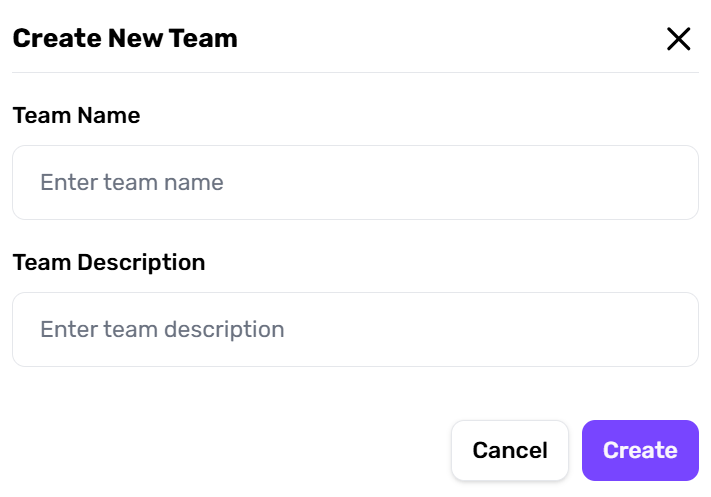
Click **Teams** → **Create New Team**.
3. **Provide Basic Info**\
Name your team and optionally include a description.
Teams are ideal for grouping people working on the same projects or requiring similar levels of access.
***
## How to Create Teams
1. **Open Organization Settings**\
From the main dashboard, select **Organization Settings**.
2. **Navigate to Teams**\
Click **Teams** → **Create New Team**.
3. **Provide Basic Info**\
Name your team and optionally include a description.
 Each organization has at least **one** Team Manager, who can manage team members and their projects.
## Inviting Organization Members
1. **Open the Invite Dialog**
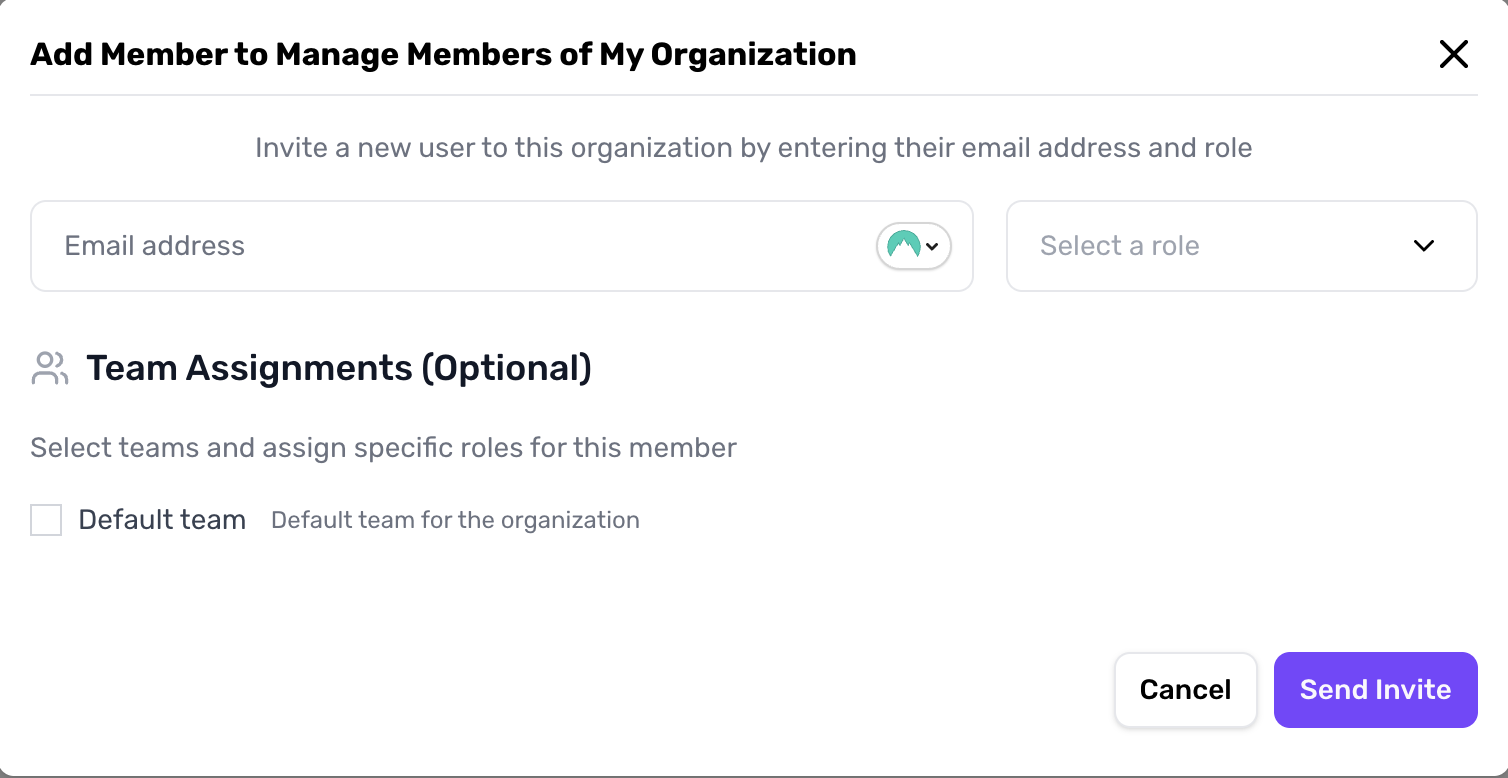
* Go to **Organization Settings** → **+ Add Member**.
* Enter the user’s email and assign an **Organization Role** (e.g., Administrator, Manager, Billing Manager, or Member).
Each organization has at least **one** Team Manager, who can manage team members and their projects.
## Inviting Organization Members
1. **Open the Invite Dialog**
* Go to **Organization Settings** → **+ Add Member**.
* Enter the user’s email and assign an **Organization Role** (e.g., Administrator, Manager, Billing Manager, or Member).
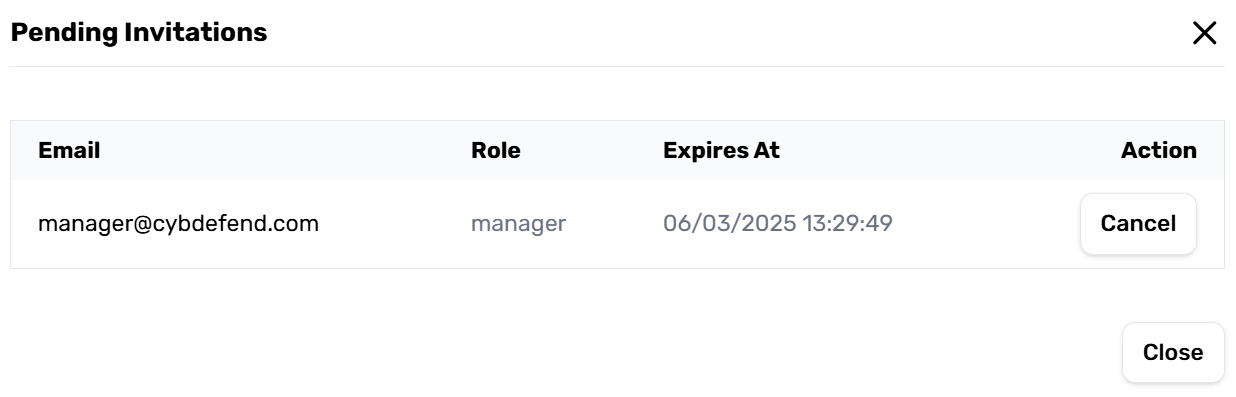
 2. **Pending Invitations**
* Once invited, the user appears in the member list with a **Pending** status.
* You can cancel the invite at any time if needed.
2. **Pending Invitations**
* Once invited, the user appears in the member list with a **Pending** status.
* You can cancel the invite at any time if needed.
 3. **User Acceptance Flow**
* **Receive Email**: The invitee gets an email with a unique link.
* **Sign Up or Log In**: If they don’t have a CybeDefend account, they’ll be prompted to create one.
* **Accept Invitation**: After confirming, they’re redirected to the main dashboard with new **Organization Access**.
3. **User Acceptance Flow**
* **Receive Email**: The invitee gets an email with a unique link.
* **Sign Up or Log In**: If they don’t have a CybeDefend account, they’ll be prompted to create one.
* **Accept Invitation**: After confirming, they’re redirected to the main dashboard with new **Organization Access**.
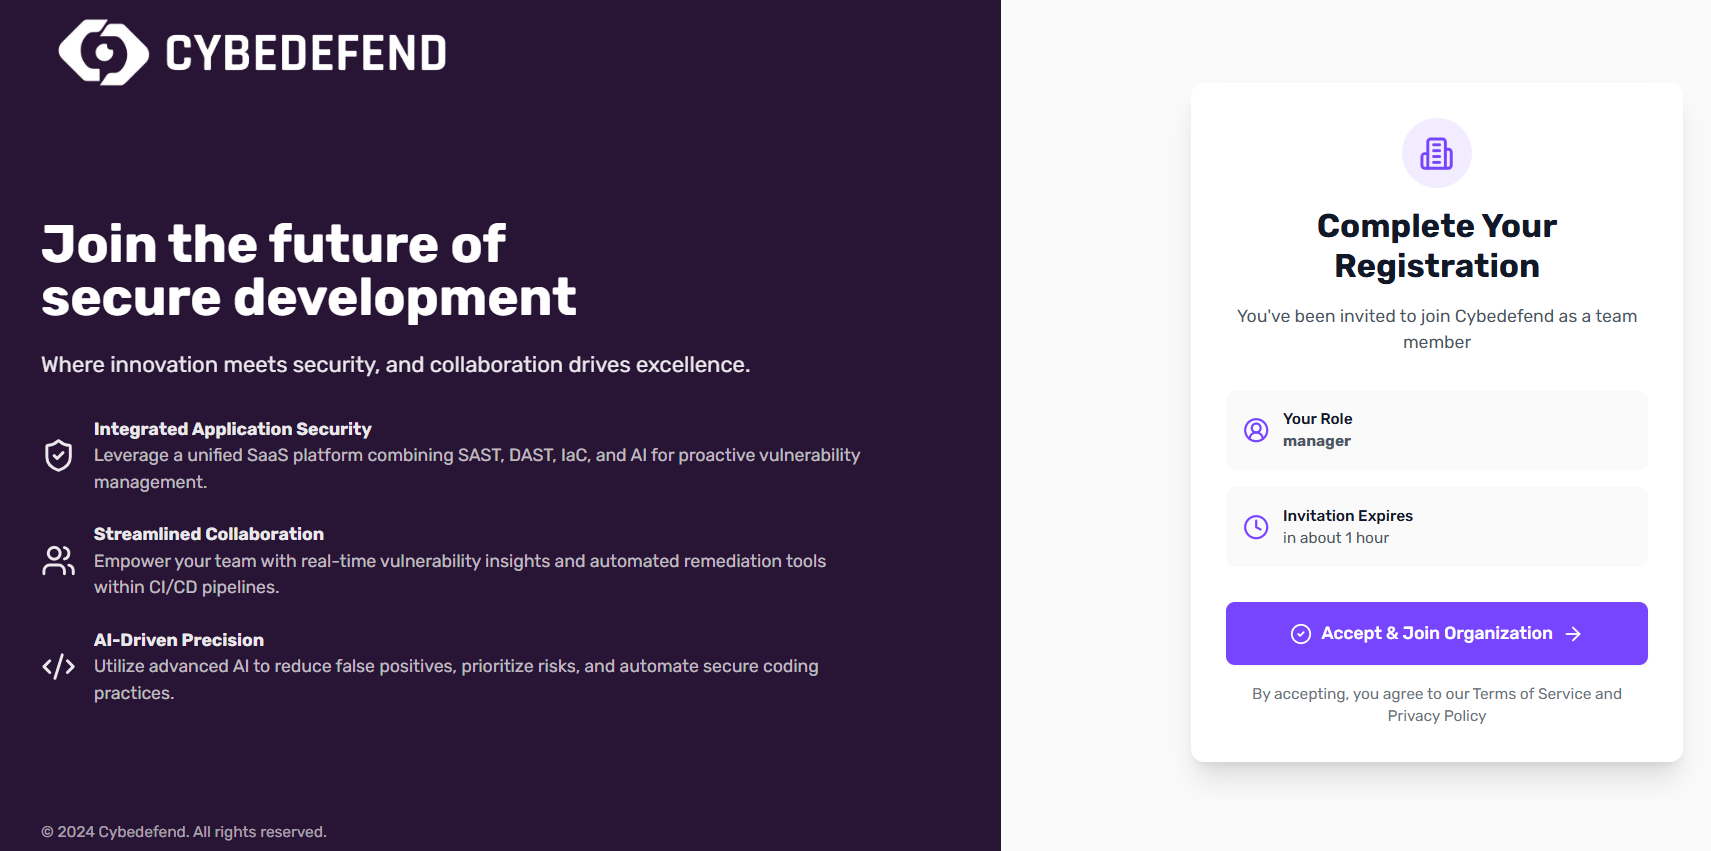 Admins can revoke an invitation before it’s accepted, ensuring you maintain full control over who joins your organization.
***
## Adding Team Members
1. **Go to Teams**\
In **Organization Settings** → **Teams**, pick the team you want to modify.
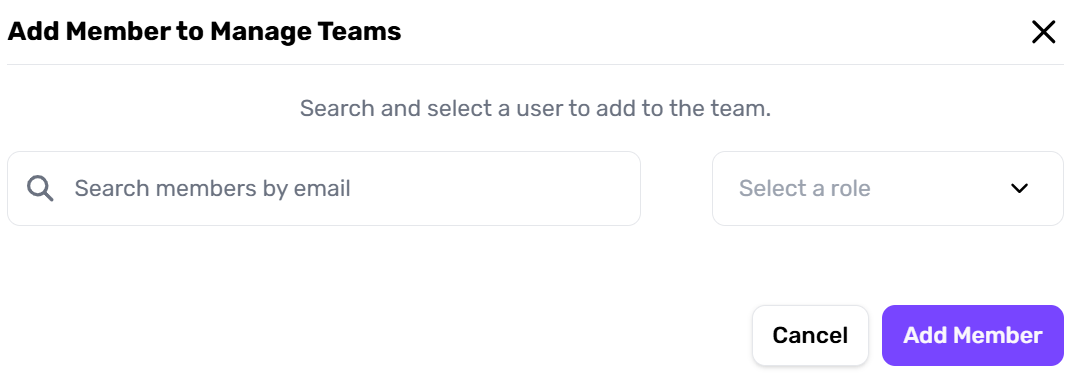
2. **+ Add Member**\
Enter the user’s email and a team role (Team Manager, Analyst Developer, Developer, or Read Only).
3. **Save & Notify**\
Once they accept your organization invite, they’ll see team details and projects.
Admins can revoke an invitation before it’s accepted, ensuring you maintain full control over who joins your organization.
***
## Adding Team Members
1. **Go to Teams**\
In **Organization Settings** → **Teams**, pick the team you want to modify.
2. **+ Add Member**\
Enter the user’s email and a team role (Team Manager, Analyst Developer, Developer, or Read Only).
3. **Save & Notify**\
Once they accept your organization invite, they’ll see team details and projects.
 ***
## Switching Organizations in the UI
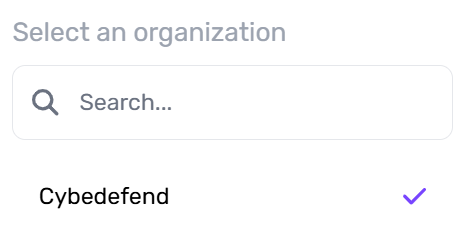
If you belong to multiple organizations, use the top navigation bar or settings dropdown to switch org contexts easily.
***
## Switching Organizations in the UI
If you belong to multiple organizations, use the top navigation bar or settings dropdown to switch org contexts easily.