> ## Documentation Index
> Fetch the complete documentation index at: https://docs.cybedefend.com/llms.txt
> Use this file to discover all available pages before exploring further.
# Scan Project Parameters
> Configure your scan settings: choose scanner types, enable fast scanning, and set vulnerability severity levels.
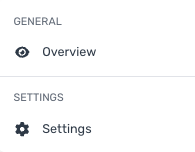
In CybeDefend, you can customize your scans by adjusting key parameters in **Project Settings** → **Scanning**. This guide covers the essential scan configuration options.
 ***
## Scanner Types
CybeDefend supports multiple security scanning methods. Enable the scanners that match your project needs:
### SAST (Static Application Security Testing)
Analyzes source code for security vulnerabilities before runtime.
### SCA (Software Composition Analysis)
Inspects open-source dependencies and libraries for known vulnerabilities.
### IaC (Infrastructure as Code)
Detects misconfigurations in infrastructure definitions (Terraform, Kubernetes, Docker, etc.).
### Container
Scans container images for vulnerabilities in base images, packages, and configurations.
***
## Scanner Types
CybeDefend supports multiple security scanning methods. Enable the scanners that match your project needs:
### SAST (Static Application Security Testing)
Analyzes source code for security vulnerabilities before runtime.
### SCA (Software Composition Analysis)
Inspects open-source dependencies and libraries for known vulnerabilities.
### IaC (Infrastructure as Code)
Detects misconfigurations in infrastructure definitions (Terraform, Kubernetes, Docker, etc.).
### Container
Scans container images for vulnerabilities in base images, packages, and configurations.
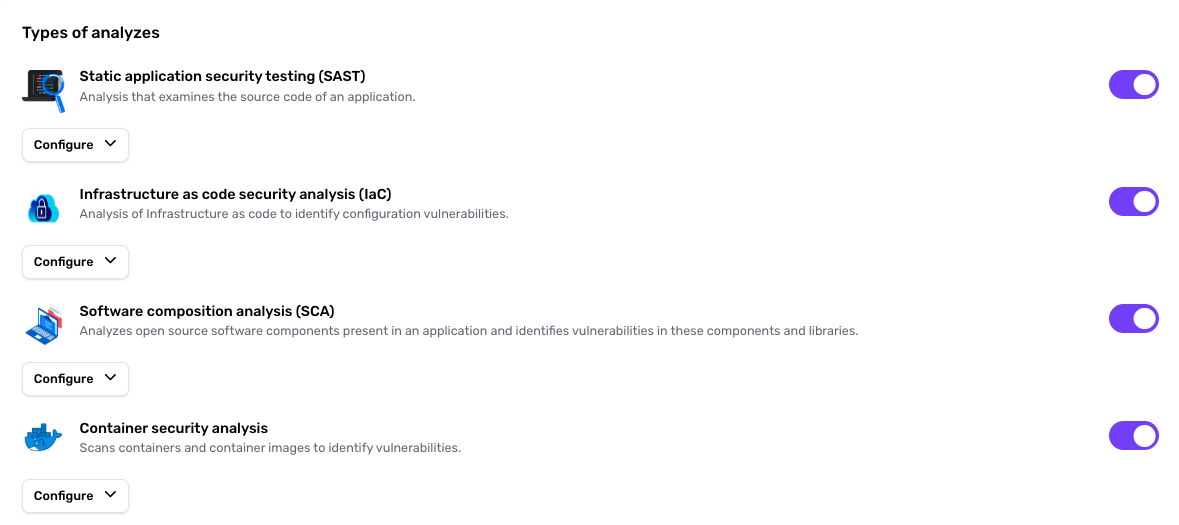 We recommend **enabling all scanners** for comprehensive security coverage across your entire stack.
***
## Vulnerability Severity Levels
Select which **severity levels** to include in your scan results:
* **Critical**: Immediate security risks requiring urgent action
* **High**: Serious vulnerabilities that should be prioritized
* **Medium**: Moderate security issues to address
* **Low**: Minor vulnerabilities or potential improvements
We recommend **enabling all scanners** for comprehensive security coverage across your entire stack.
***
## Vulnerability Severity Levels
Select which **severity levels** to include in your scan results:
* **Critical**: Immediate security risks requiring urgent action
* **High**: Serious vulnerabilities that should be prioritized
* **Medium**: Moderate security issues to address
* **Low**: Minor vulnerabilities or potential improvements
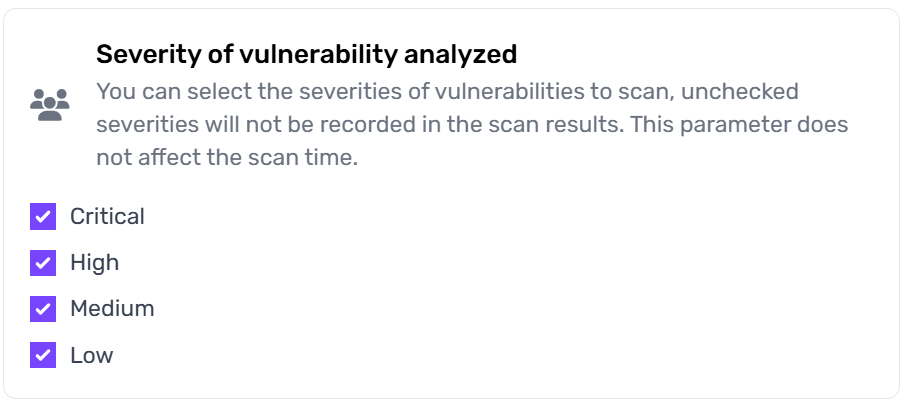 Unchecked severity levels will not appear in your results, allowing you to focus on the most critical findings.
This setting filters scan results only—it does not impact scanning time or depth.
***
## AI-Powered Features
For advanced vulnerability analysis and remediation, CybeDefend offers AI agent features that can be enabled in project settings:
* **Cybe Analysis**: Intelligent false positive detection and vulnerability triage
* **Cybe AutoFix**: Automated fix generation with pull/merge requests
* **Cybe Security Champion**: Interactive security guidance and chatbot
Learn more about configuring AI features in the [Agent & AI Integration](/latest/agent-ai-integration/cybe-analysis-detail) section.
***
## Saving Your Configuration
After adjusting scan parameters:
1. **Save your settings** in the project configuration
2. **Trigger a new scan** manually or wait for automatic scanning
3. **Review results** in your project dashboard
Balance **scan coverage** and **speed** based on your development stage. Use fast scanning for rapid iterations, and comprehensive scanning for releases.
Unchecked severity levels will not appear in your results, allowing you to focus on the most critical findings.
This setting filters scan results only—it does not impact scanning time or depth.
***
## AI-Powered Features
For advanced vulnerability analysis and remediation, CybeDefend offers AI agent features that can be enabled in project settings:
* **Cybe Analysis**: Intelligent false positive detection and vulnerability triage
* **Cybe AutoFix**: Automated fix generation with pull/merge requests
* **Cybe Security Champion**: Interactive security guidance and chatbot
Learn more about configuring AI features in the [Agent & AI Integration](/latest/agent-ai-integration/cybe-analysis-detail) section.
***
## Saving Your Configuration
After adjusting scan parameters:
1. **Save your settings** in the project configuration
2. **Trigger a new scan** manually or wait for automatic scanning
3. **Review results** in your project dashboard
Balance **scan coverage** and **speed** based on your development stage. Use fast scanning for rapid iterations, and comprehensive scanning for releases.